How to Organize Kitchen Spices
In this step by step tutorial, I’m showing you how to organize the spices in your kitchen by doing it yourself and using what you already have.
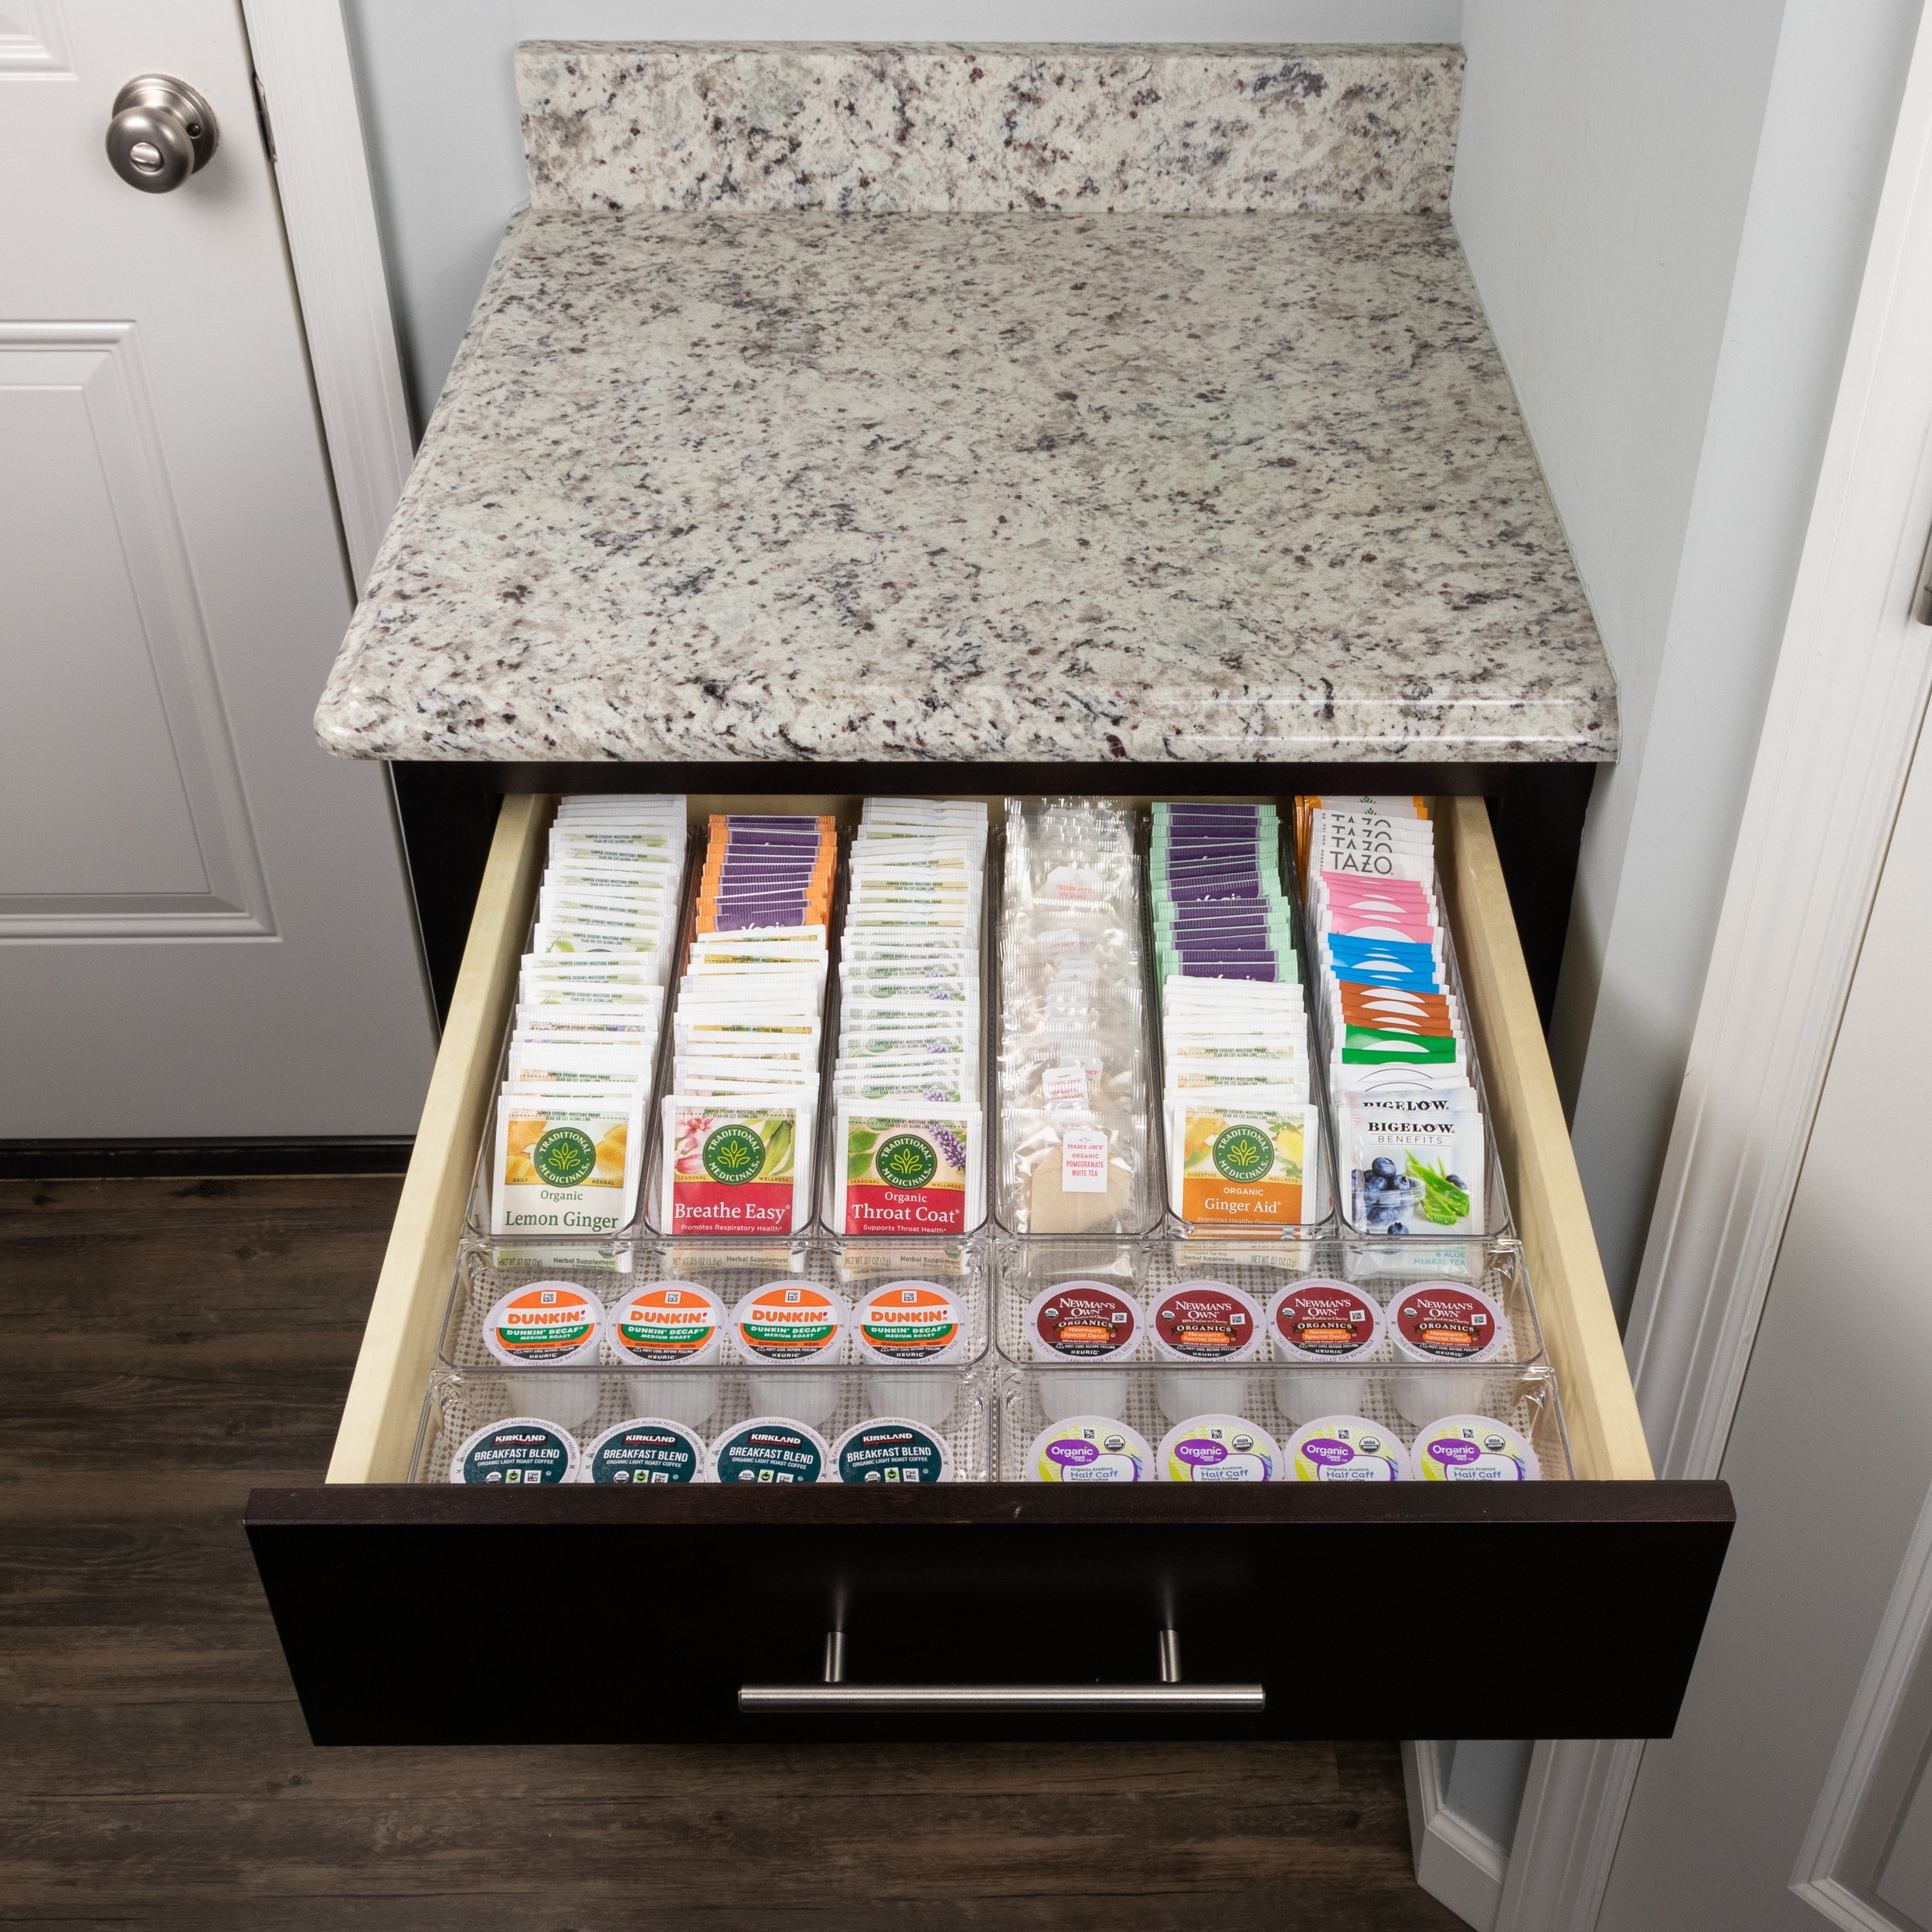
Pick a drawer that isn't utilized to the fullest capacity.
Gather your supplies.
Clean
Measure the drawer and cut a pantry liner to fit the drawer.
Remove the labels from your existing spice jars.
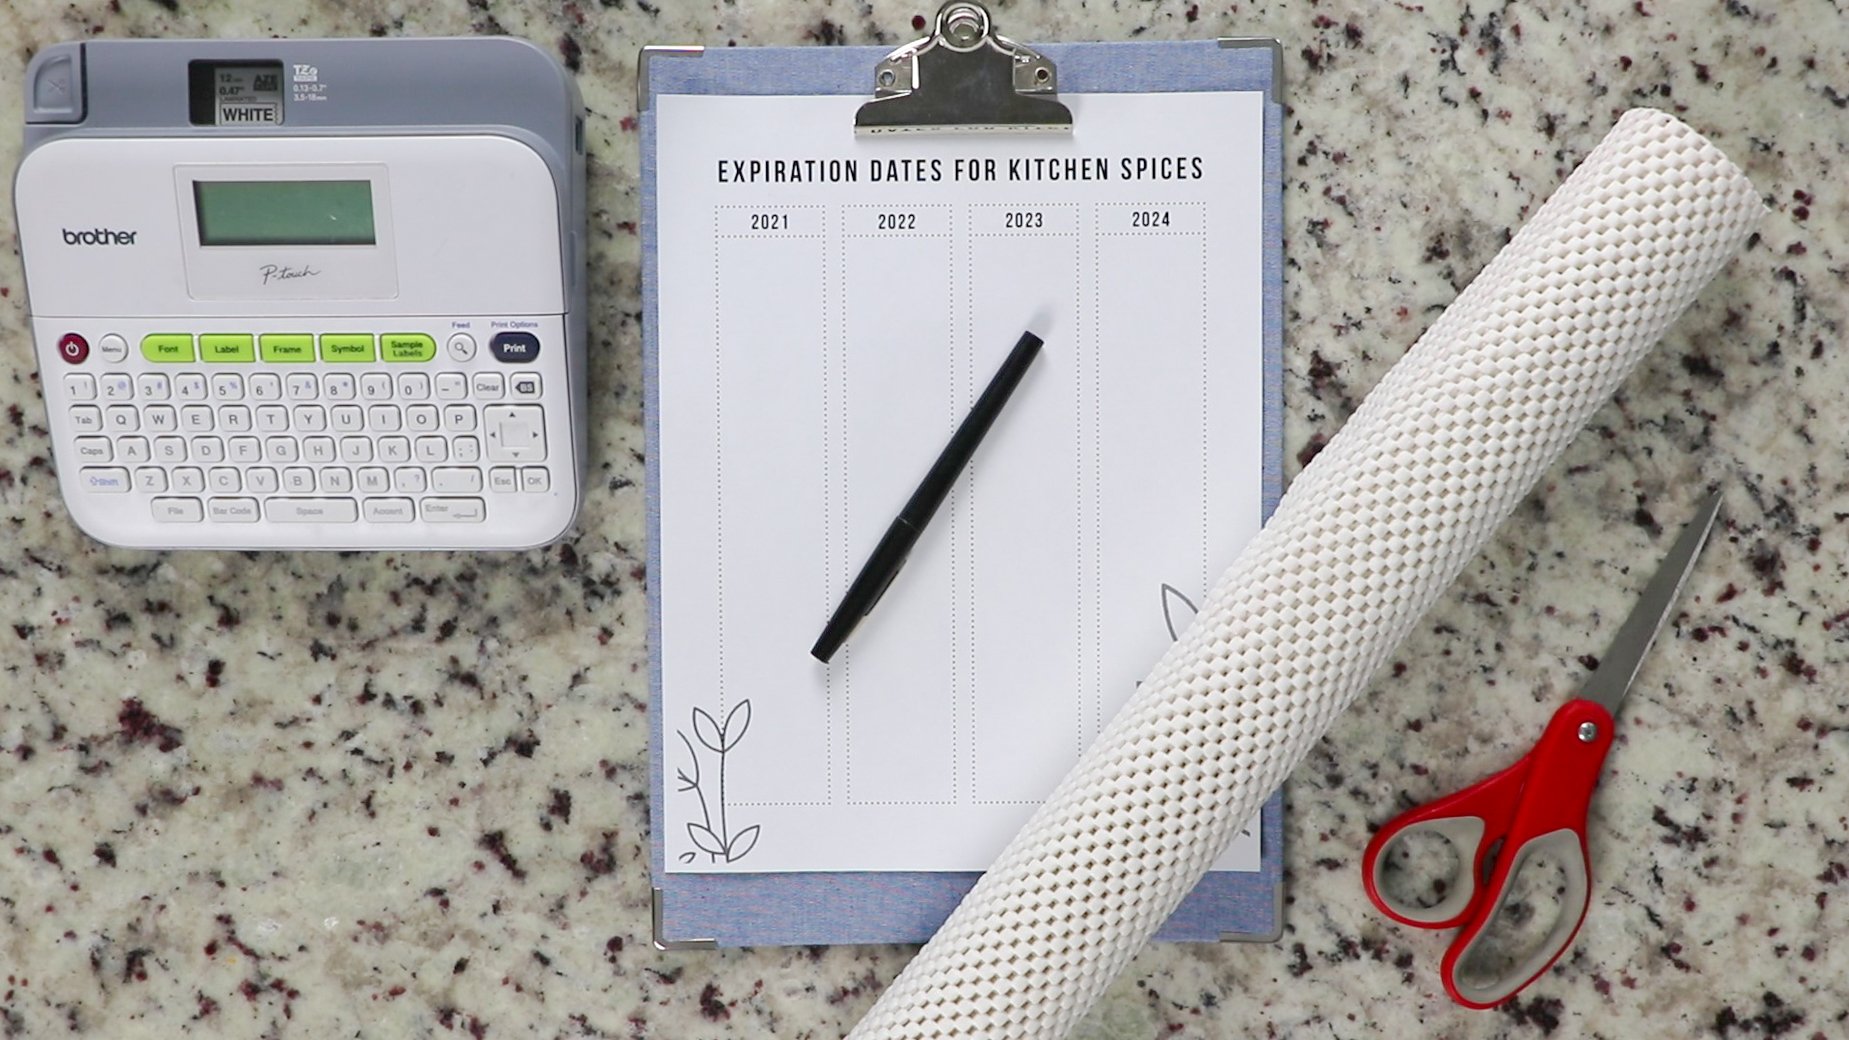
Write down the expiration date of each spice.
Print or write a label.
Organize your drawer.
Video Example
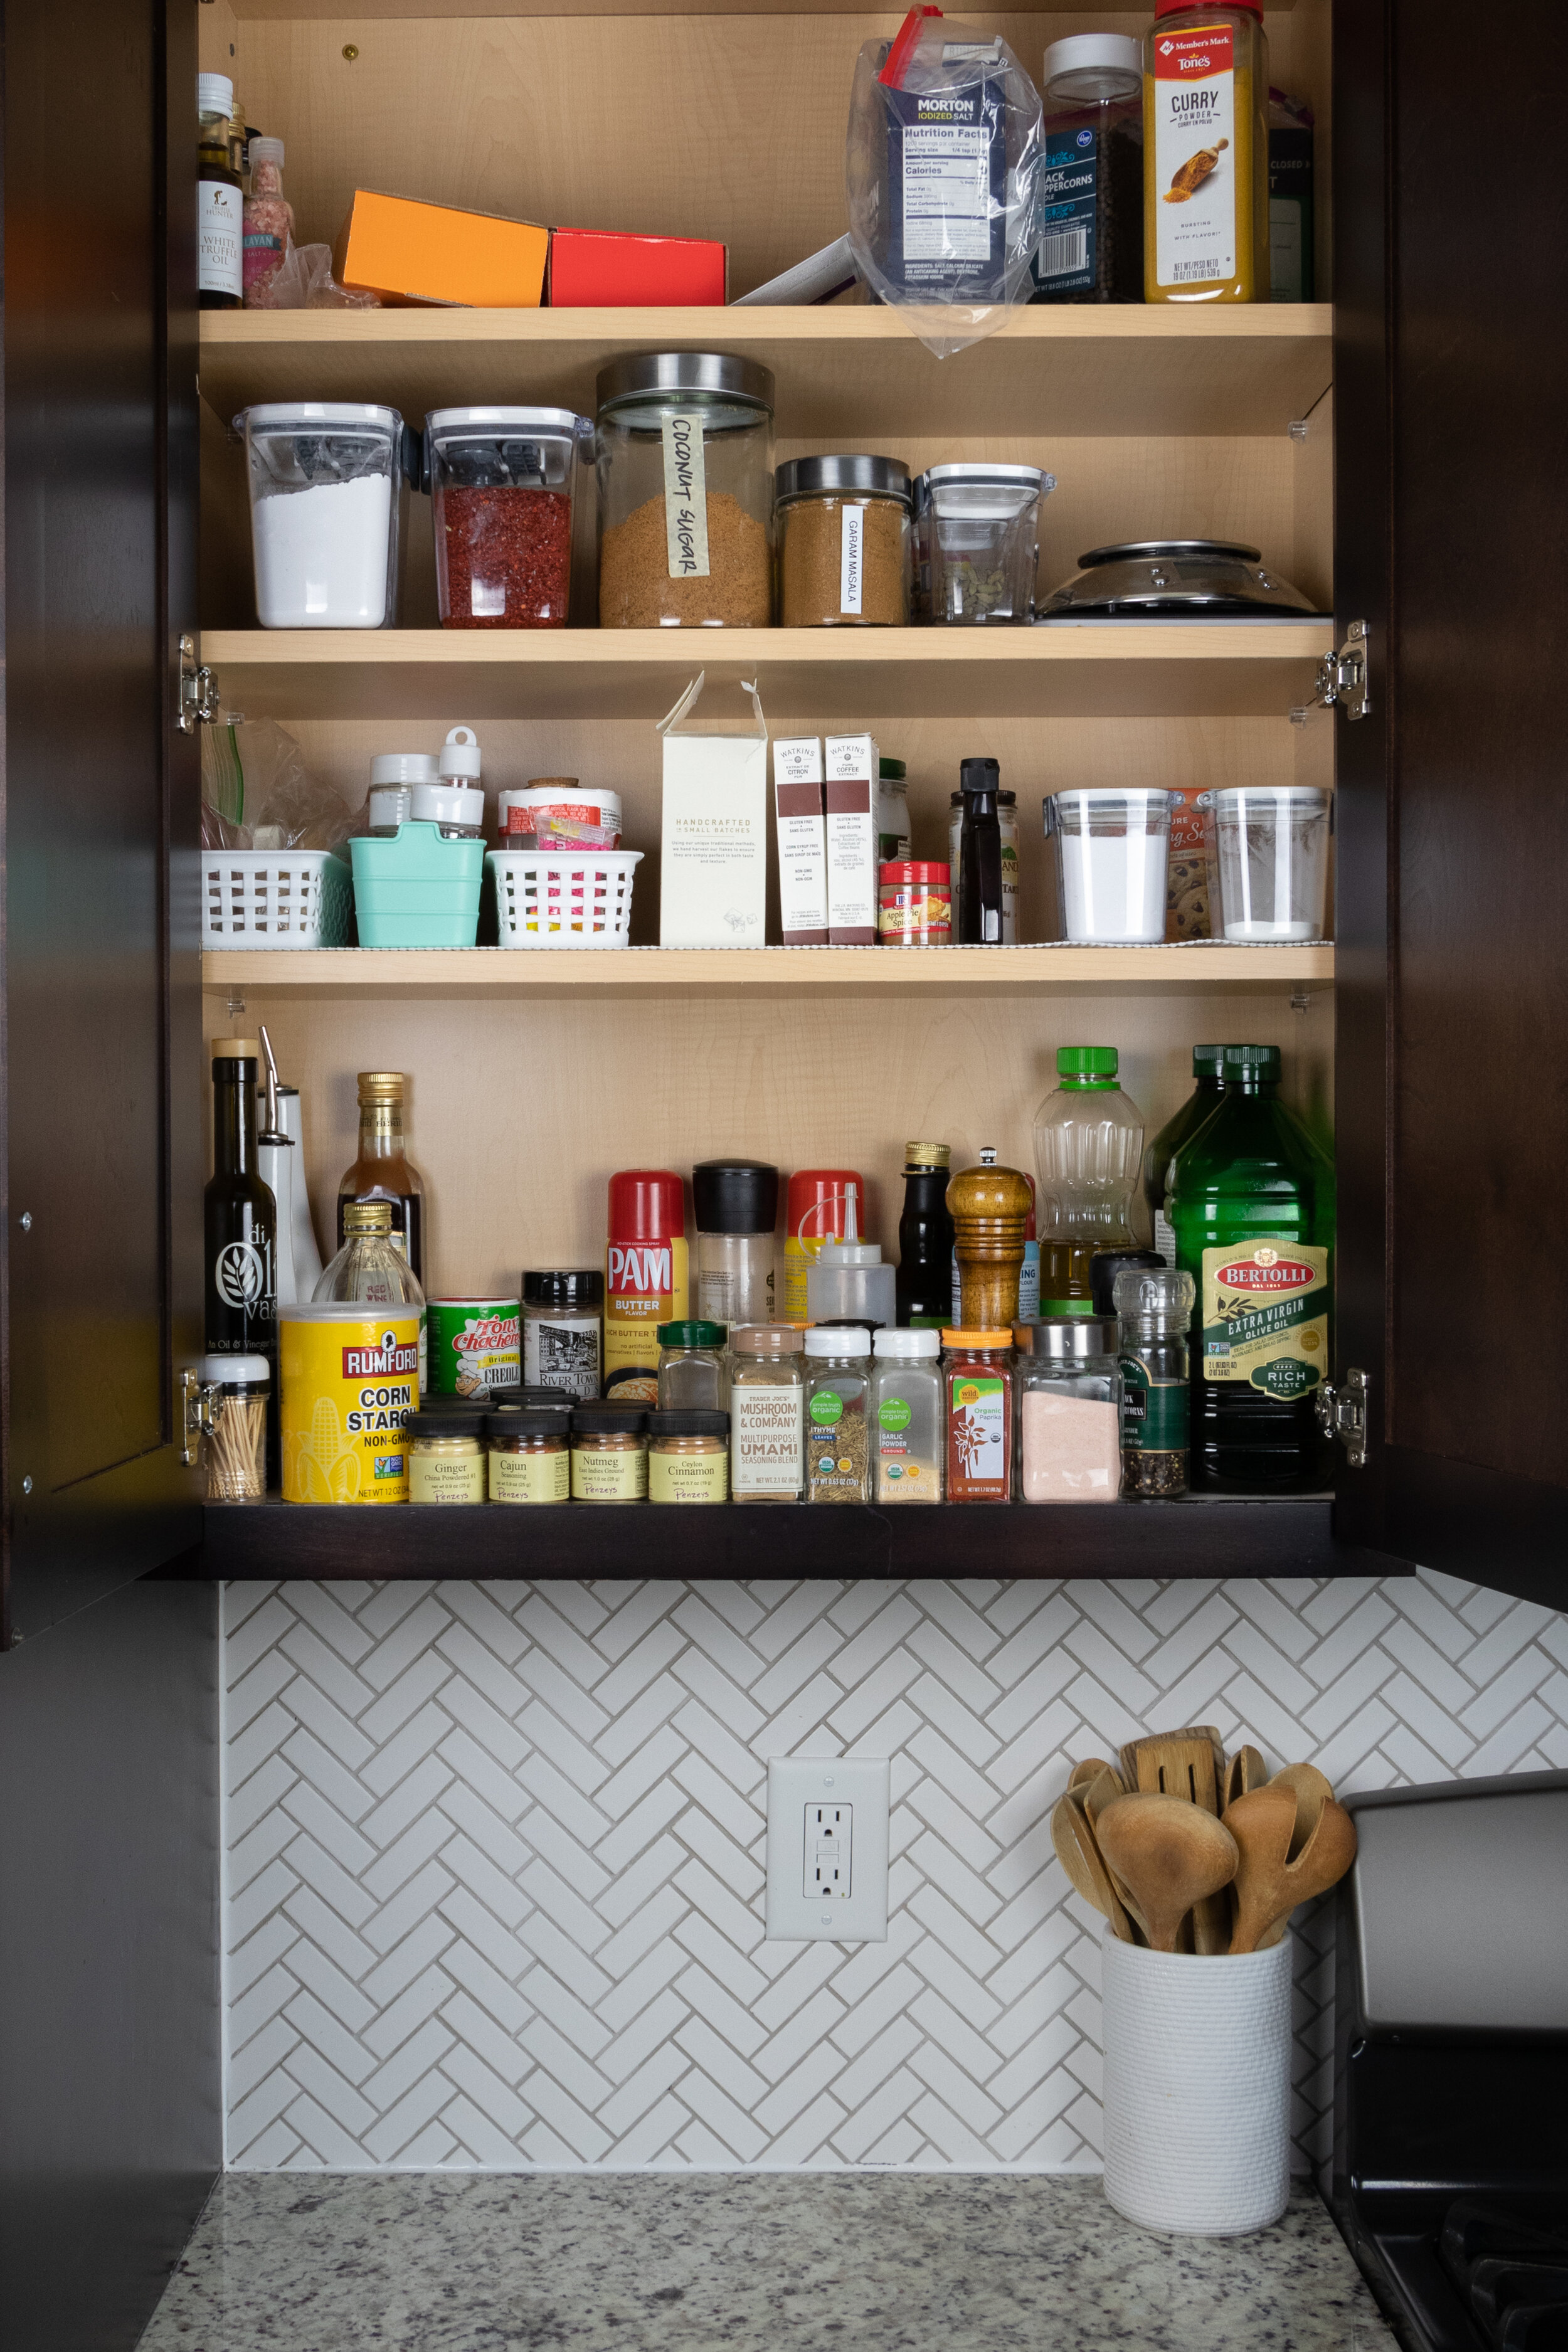
the before
Pick a drawer that isn't utilized to the fullest capacity.
To the right of the oven, there is a small, narrow drawer that I originally put oven mitts in.
I decided to take out the oven mitts and use this spice to organize my spices instead.
I transferred the oven mitts to the same drawer as the towels.
This space is a lot more useful for spices because my husband and I add spices while cooking on the stove and it’s nice to have them within arms reach.
Try things out! If you don’t think that it’s easy to reach something, find a new spot for it and see if the new spot is more efficient. Keep testing things out in your kitchen and soon you’ll find the perfect spot for it.

2. Gather your supplies.
You will need the following to complete this project:
Spices
Label Maker or Sharpie
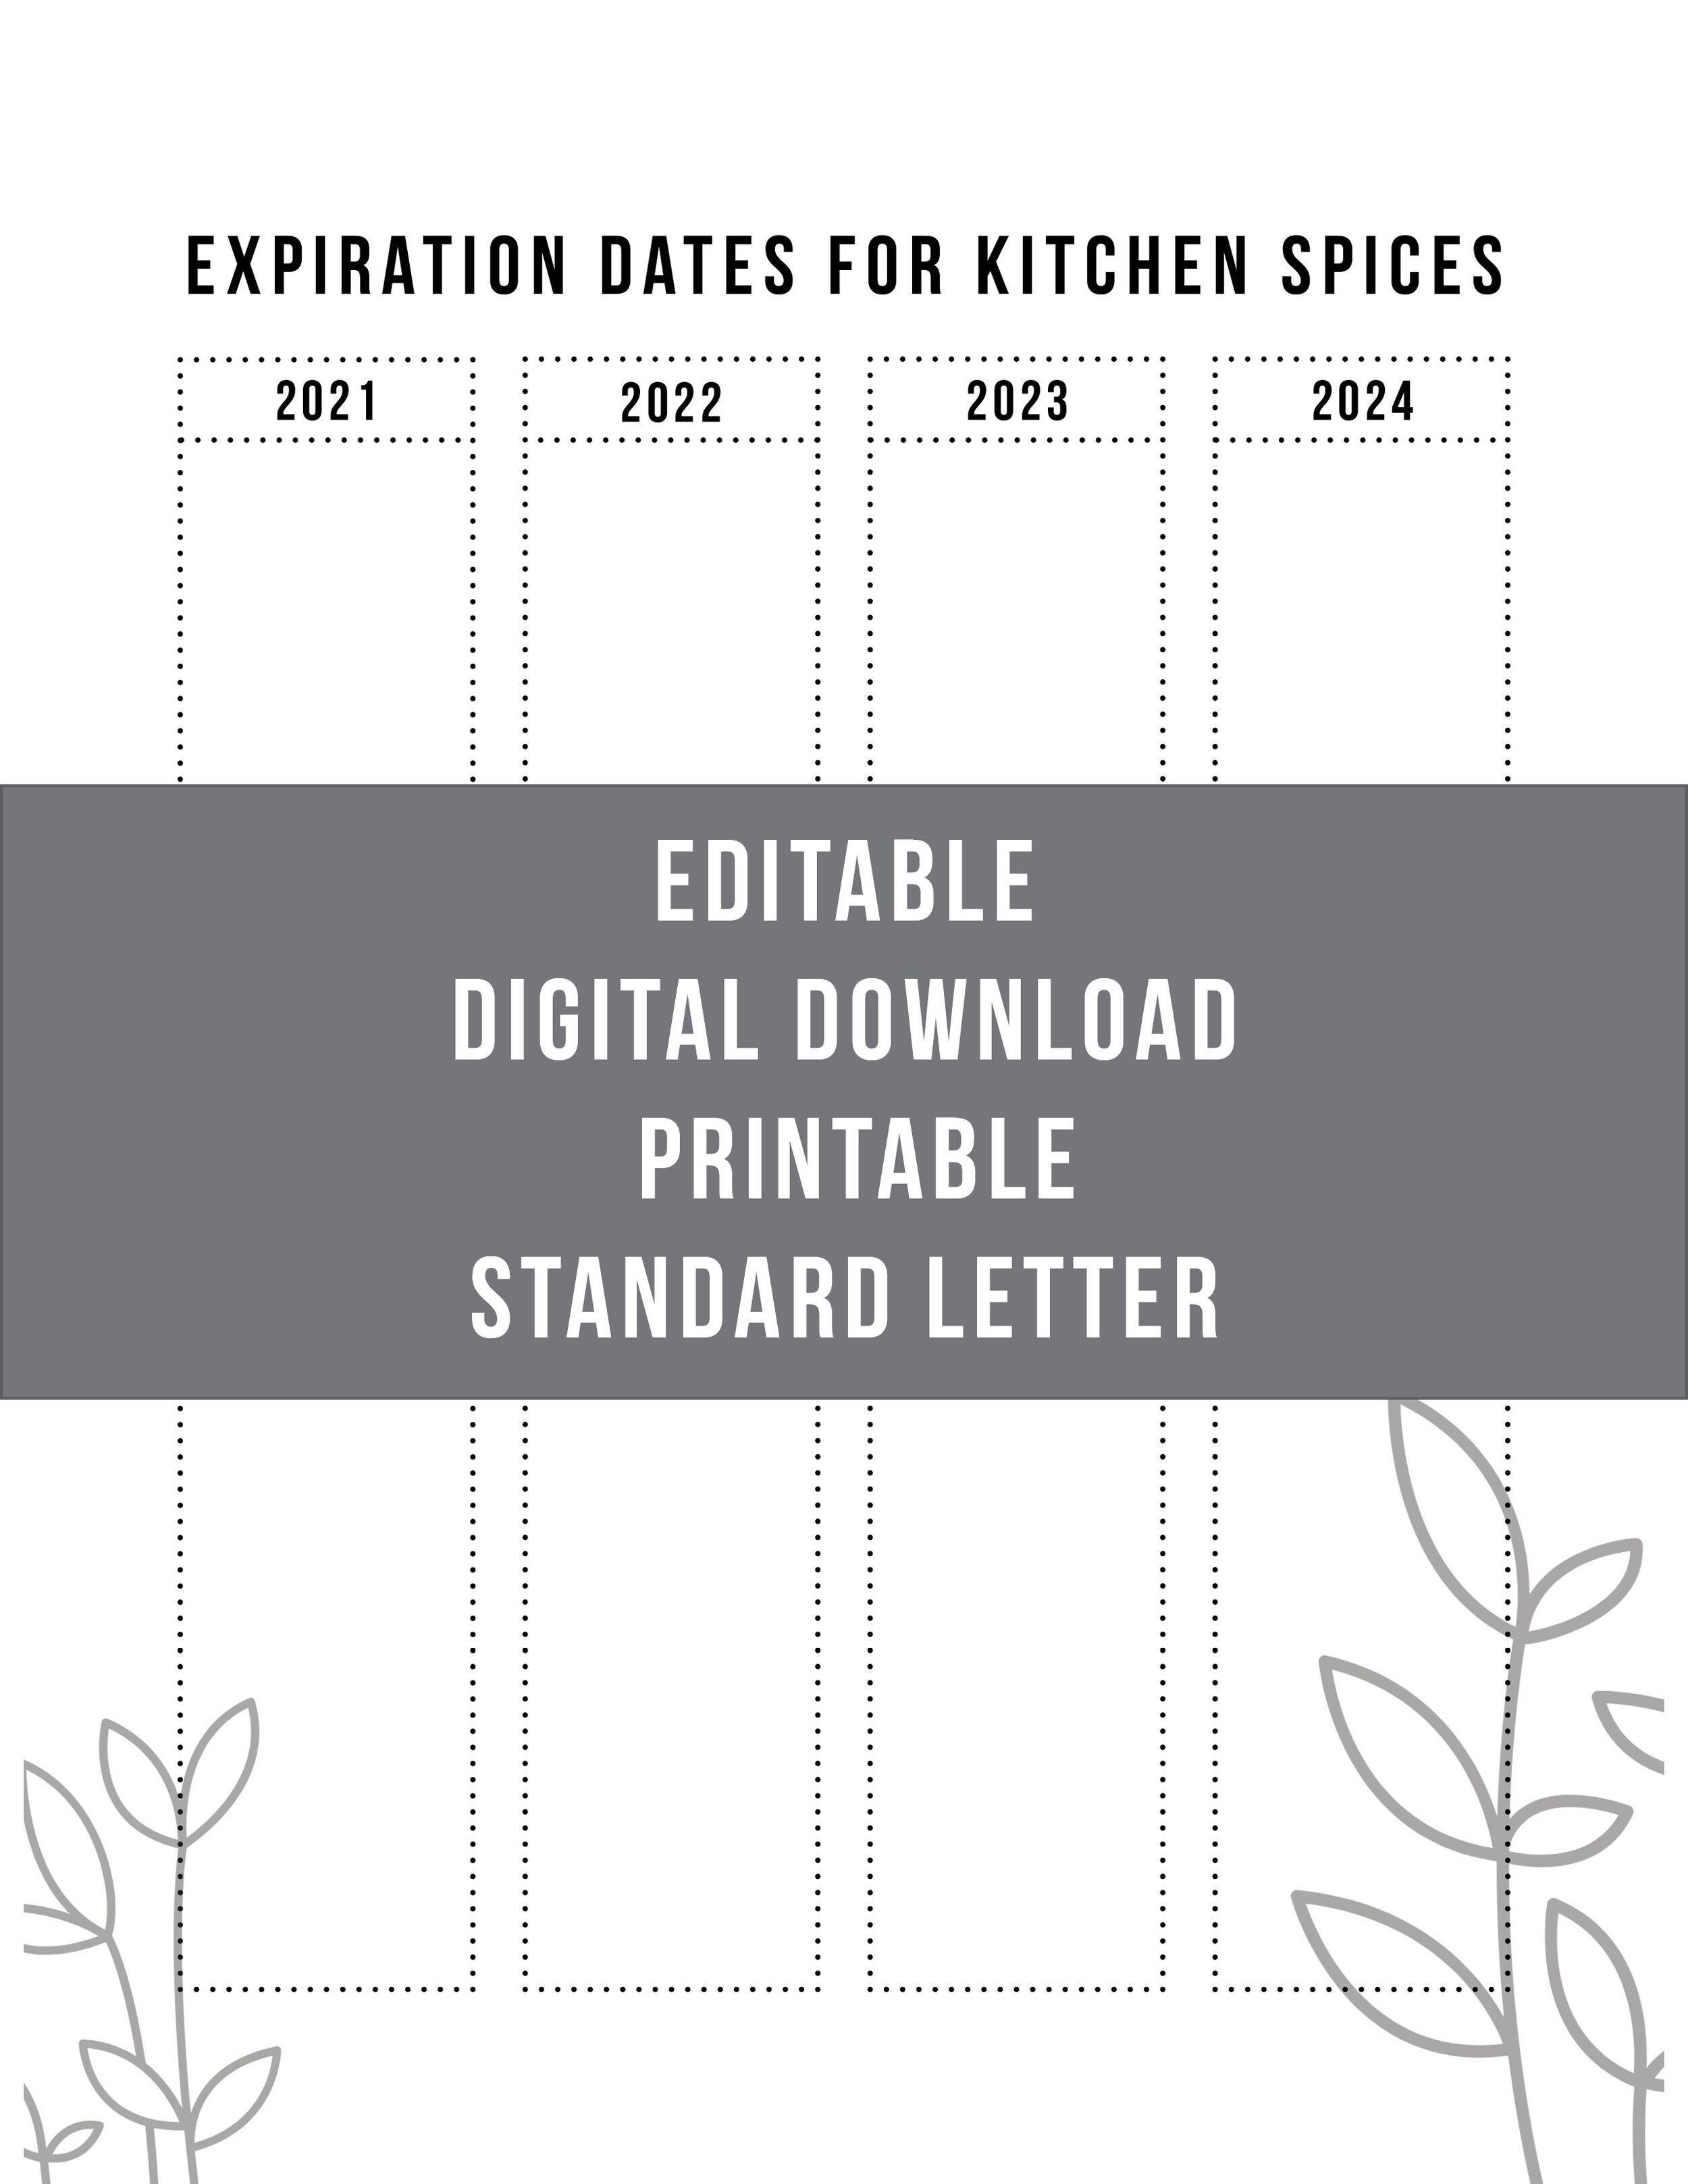
Expiration Date Checklist
Cabinet Liner
Scissors
3. Clean
I wiped this drawer down with a microfiber cloth and it only took me 5 seconds.
With spice drawers, I do recommend cleaning out the space once or twice a year. Even with lids on, somehow spices escape their jars and get on the surface underneath it.

4. Measure the drawer and cut a pantry liner to fit the drawer.

5. Remove the labels from your existing spice jars.

6. Write down the expiration date of each spice.
Print off the expiration date checklist below to keep track of your best use-by dates.

7. Print or write a label.
I have a Brother Label Maker from Amazon that I used to create my labels.
You can use anything that you have!
You can buy beautiful ones from Etsy, make some on a Cricut or Silhouette, and even write it on the jar with a plain old Sharpie.
As long as you can read the name of the spice, it doesn’t matter what you use to label your spices. No one else will see them anyways.


the after

print off your digital download to get started
video tutorial